Several months ago I installed Oracle IdM 11g (11.1.1.1.0) … I’ll call it Release 0 (zero). I don’t know if it is officially called R0 but that will do for now. This was a development environment. We were holding off on installing R1 due to time constraints but have finally run into enough issues that we had to make the time. Well, I am making the time (it’s 1AM right now). I am planning on working through the migration from R0 to R1 and hopefully have it ready for use by tomorrow morning. The two components that need to be upgraded our Oracle Internet Directory (OID) and Oracle Virtual Directory. With 11g you have to upgrade Weblogic as well … so that is on my list for tonight also.
Our most compelling reason for upgrading is one particular plugin that has become available in OVD in R1. That plugin is the ForkJoin Plugin as described from the Administration Guide:
“Supported only for Join View Adapters, the ForkJoin plug-in allows you to search against the primary adapter and/or secondary adapters in a Join View. During LDAP search, when a search filter contains one or more attributes that are available only in secondary adapter, without this plug-in, Oracle Virtual Directory cannot return Joined entries that satisfies the filter, as the entire search filter is sent only to the primary adapter. Using the ForkJoin Plug-in, Oracle Virtual Directory can search on attributes only in the primary adapter, only in the secondary adapter, and in both the primary and secondary adapters.”
According to the migration documentation from Oracle the upgrade process is actually a near complete reinstall and then a data migration. We have a lot of Oracle Access Manager Policies that are stored in OID and a few virtual dynamic groups stored in OVD. I am more concerned about the policies because of the time it took to implement.
Migration Steps
Step 1: Backups of course.
For backing up OID I just started at the root suffix and did an ldif export (from Apache Directory Studio).
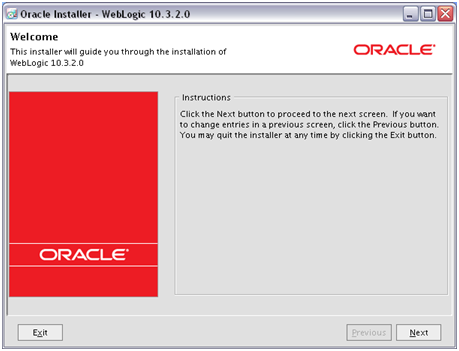
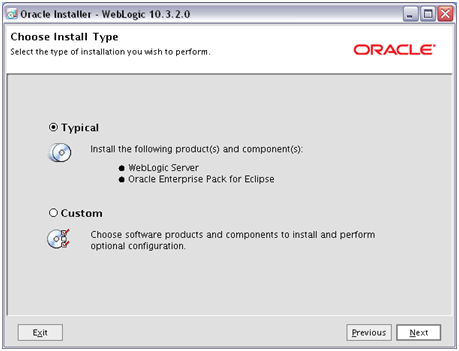
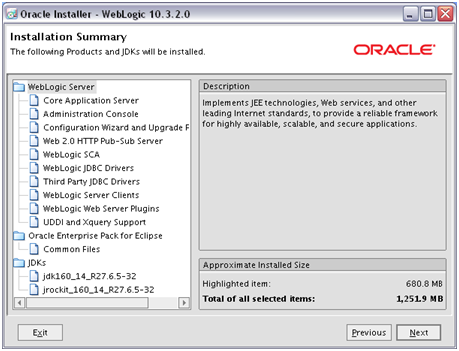
Step 2: Install new Weblogic Home
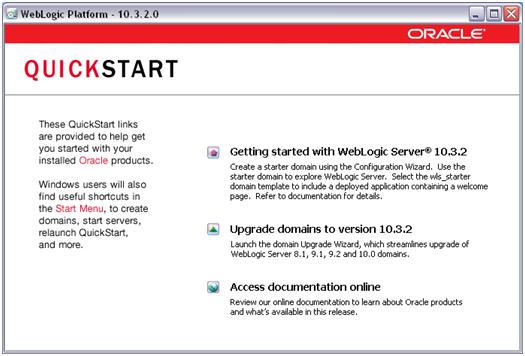
Step 3: Install R1 components (OID, OVD)
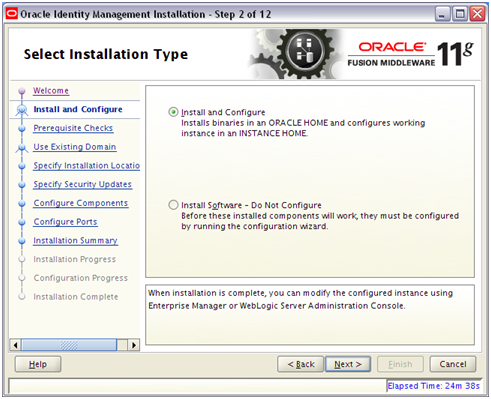
When running the installer, make sure to select, “Install Software – Do Not Configure”. The Patch Assistant will migrate the middle-tier configuration. I noticed that when I selected, “Do not configure”, that the installer didn’t ask which components to install.
Step 4: Using the Patch Assistant to migrate schemas/data
Update the patchMaster.properties file with:
patchMaster.Domainhomenew
patchMaster.Domainapplicationshomenew
patchMaster.Domainhomeold
patchMaster.Domainusername
patchMaster.Oracleinstanceoldlist
patchMaster.Oraclehomeold
Interestingly enough the attribute Schemaprefix is marked as “optional” in the patchmaster file but the ant process complained that that attribute was null. I put “ODS” and it stopped complaining.
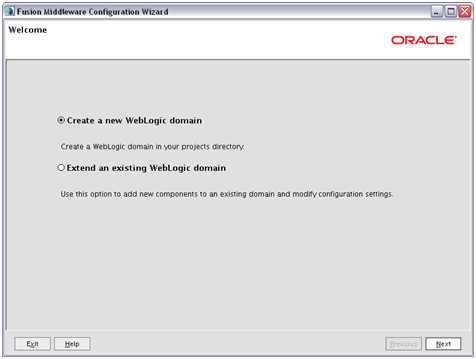
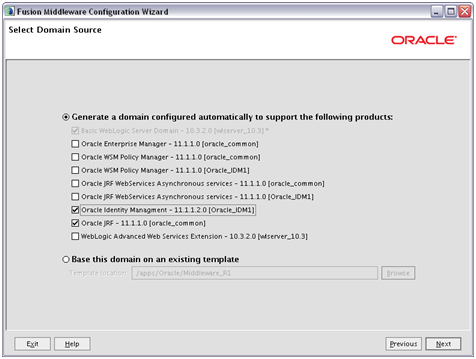
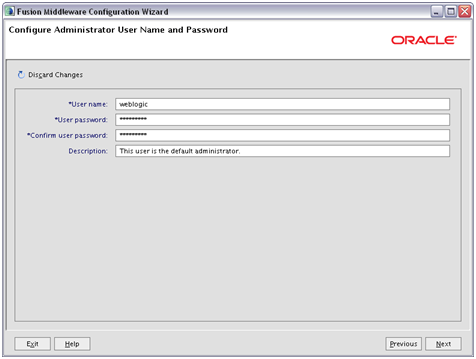
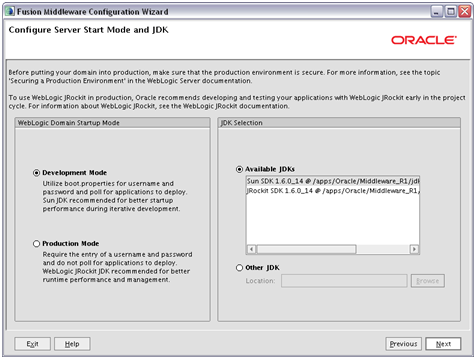
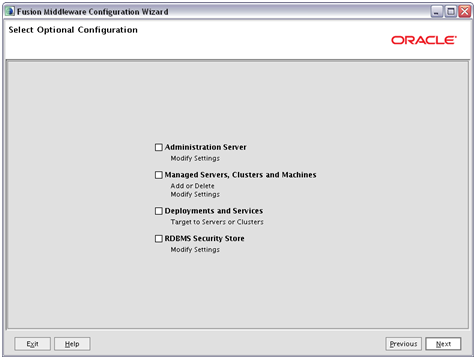
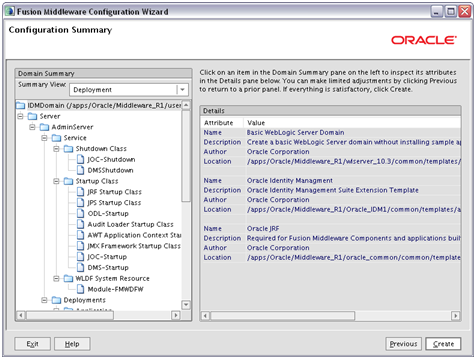
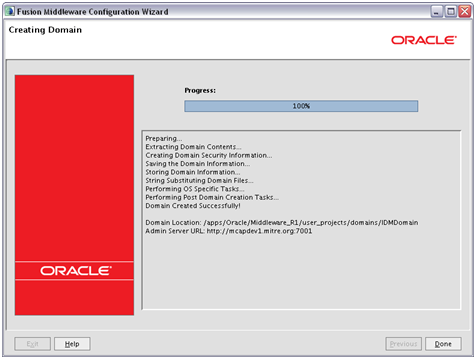
Create a WebLogic Domain for 11.1.1.2.0
Run the MW_HOME/oracle_common/common/bin/config.sh


Migrating the Domain
Type: ant master-patch-domain
Migrating an Instance
Type: ant master-patch-oinstance
Register the Instance
Type: ant master-register-oinstance
At this point I am getting an error because I missed the part that said, “Before registering the instance, ensure that your Administration Server is up and running”. I am searching for the new “StartWebLogic.sh” file but not able to find it. Strange! [time: 3:49 am]
At 4:15 AM I realized that I had skipped the part on creating the Weblogic Domain for 11.1.1.2.0 so, I went back and did that.
The migration completed successful but it looks like there is some cleanup that needs to be done. OID is not responding. OVD looks like it migrated successfully. I was able to log in and see the dynamic groups that I had created in the previous version.
[This is where I left off. I am planning on picking this up later today or tomorrow to complete the migration. I will update the post with the final details for migration.]
Step 5: Test new instances (Does OAM still work? Is all of the appropriate data available via OVD?)
Step 6: Decommission R0
UPDATE (02/05/2010)
I finally found that I had made a mistake with my patchMaster.properties file by leaving off “ODSM and OPMN” from the components list. I ended up redoing the install and it worked perfectly. Here is what the patchMaster.properties file should look like:
patchMaster.Componentlist=OID,OVD,ODSM,OPMN
patchMaster.Schemaurl=jdbc:oracle:thin:@idm.acme.com:1521:acme1 (note: acme1 is the service name)
patchMaster.Schemauser= System
patchMaster.Schemaprefix=ODS
patchMaster.Mwhomenew=/apps/Oracle/Middleware_R1
patchMaster.Mwhomeold=/apps/Oracle/Middleware
patchMaster.Domainhomenew=/apps/Oracle/Middleware_R1/user_projects/domains/IDMDomain
patchMaster.Domainhomeold=/apps/Oracle/Middleware/user_projects/domains/IDMDomain
patchMaster.Oracleinstancenewlist=/apps/Oracle/Middleware_R1/oid_1
patchMaster.Oracleinstanceoldlist=/apps/Oracle/Middleware/oid_1
patchMaster.Oraclehomenew=/apps/Oracle/Middleware_R1/Oracle_IDM1
patchMaster.Oraclehomeold=/apps/Oracle/Middleware/Oracle_IDM1
patchMaster.Domainadminhost=idmhost.acme.com
patchMaster.Domainadminport=7001